
We have disassembled the FiiO M11 portable DAP/DAC, so you don’t have to.
Through out this FiiO M11 disassembly article our readers will be able to observe the inner build and components of this modern music player and fulfill their curiosity thirst.
The FiiO M11 is the flagship music player from the brand, next to the recent released FiiO M11 Pro. Both are full-fledged Android devices with some tweaking on top and specialized components to shine as portable music players/DACs.
As soon as the FiiO M11 was launched our team got their hands on it and reviewed it – if you got to this article but you were looking for the review, check out the following link: FiiO M11 review
Other of the latest music players from FiiO include the:
This article will not provide a disassembly guide and is not intended as so but gives you the opportunity to see the inner components of the FiiO M11, the construction details and a rough idea of how it can be disassembled.
![]()

![]()
![]()
![]()
![]()
![]()
![]()
FIND ALL: Headphones Scores Compared
RECOMMENDED: FiiO Headphones Reviews
SEE ALSO: FiiO DAP/DAC, Amplificators, Music Players reviews
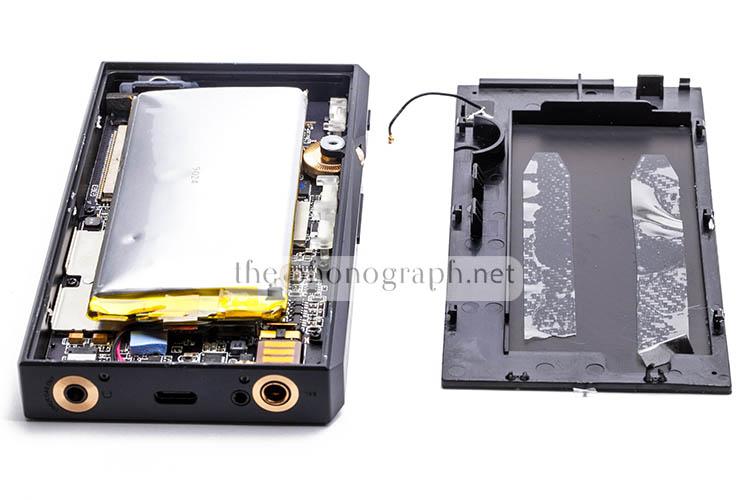
Our FiiO M11 disassembly first step with the back cover removed
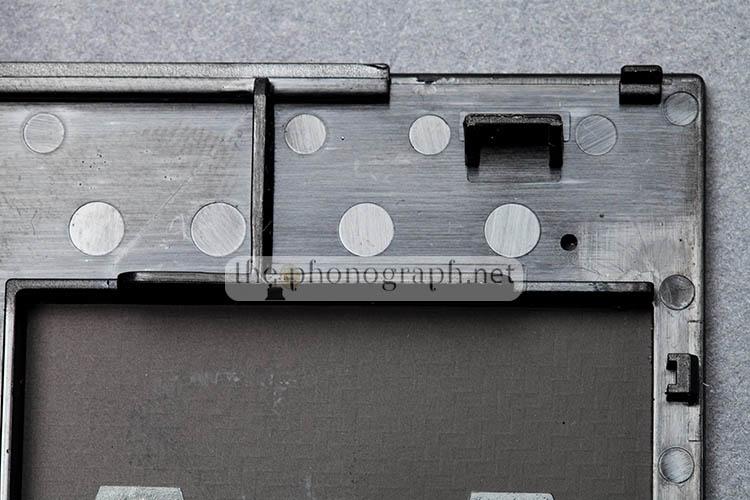
The back cover of the FiiO M11 is attached to the main housing with 2 systems: plastic clips and glue of undefined kind.
The cover is very tightly placed, making extremely difficult to remove it.
RELATED TO THIS ARTICLE: KZ Headphones Reviews
SEE ALSO: Xiaomi Headphones Reviews
Popping out the Fiio M11’s back cover
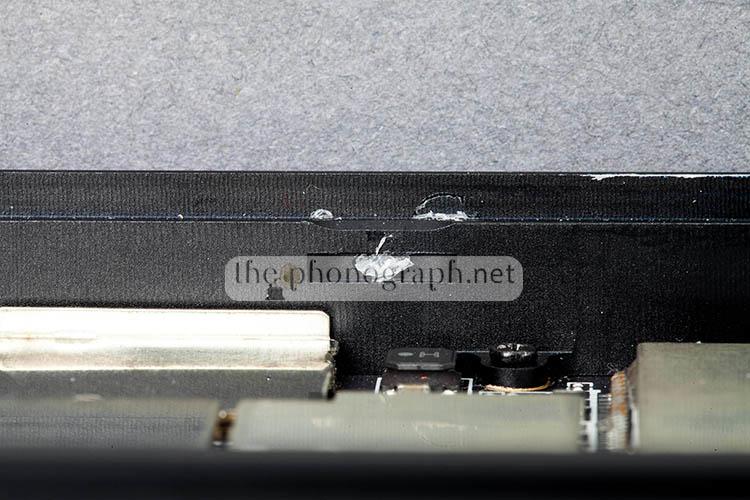
The FiiO M11 was not designed to be opened not serviced by owners. As so, the unit is assembled to be kept as it comes from the factory. Trying to remove the back cover will break the glass.
The cover can be removed if done with extreme care and with the proper disassembly tools.
Most of the tools needed are the same that smartphone businesses utilize for the removable and replacement of broken screens.
The plastic clips of the cover can be seen on the photos below and the corresponding slots on the main housing.
We just mentioned it but you WILL break the glass of the back cover if you try to remove it – the glass will shatter.

MORE: xDuoo DAP/DAC, Amplificators, Music Players reviews
The FiiO M11 glass back cover disassembly
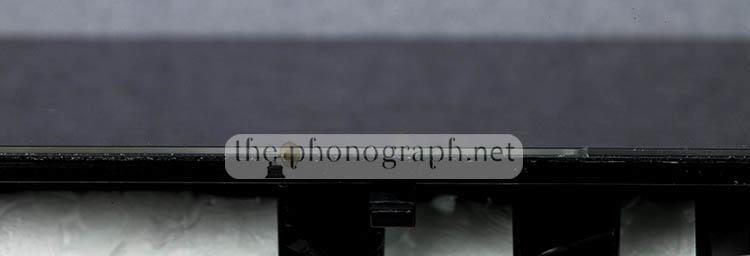
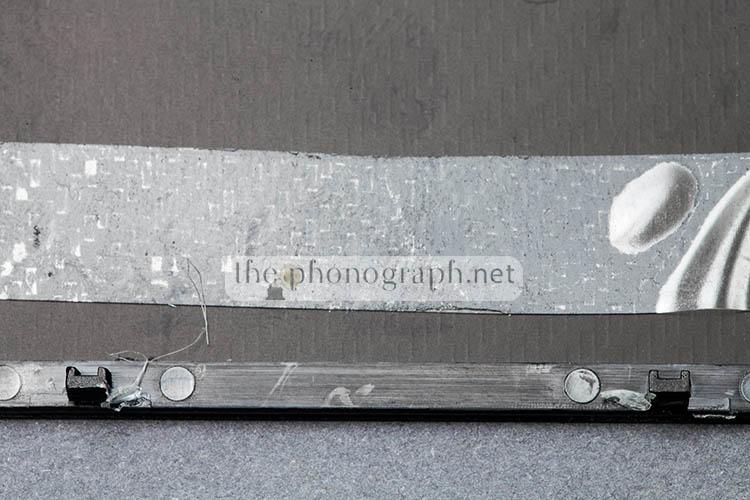
As you can see from the detailed photos below, the glass back cover of the FiiO M11 is actually a thin glass piece glued to a plastic cover.
These 2 pieces glued cannot be separated from each other and are the actual back cover.
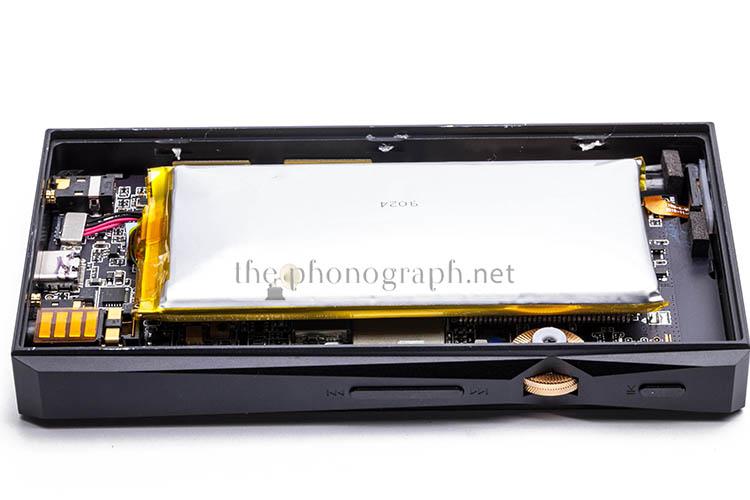
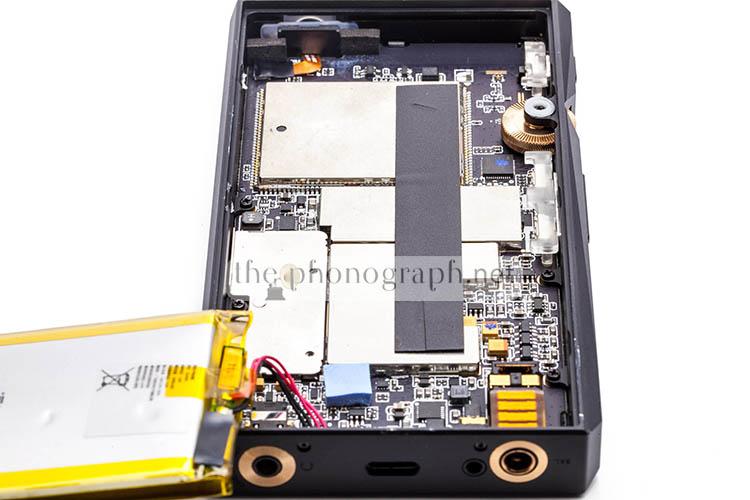
FiiO M11 battery
The battery of the FiiO M11 is has 2 sections that fix it in place, the cable connection itself to the mainboard and two strips of double-sided tape that bond the battery to the plastic back cover.
The tape has a very strong adhesive that requires significant force to be applied in order to separate the two pieces.
The white hair-alike on the bottom left of the photo is actually part of the lefts over of the glue used to bond the back cover to the main housing.
SEE ALSO: Aliexpress Coupons – Discounts – Deals – Promo Codes – Sales Deals
MORE: Amazon Coupons & Deals
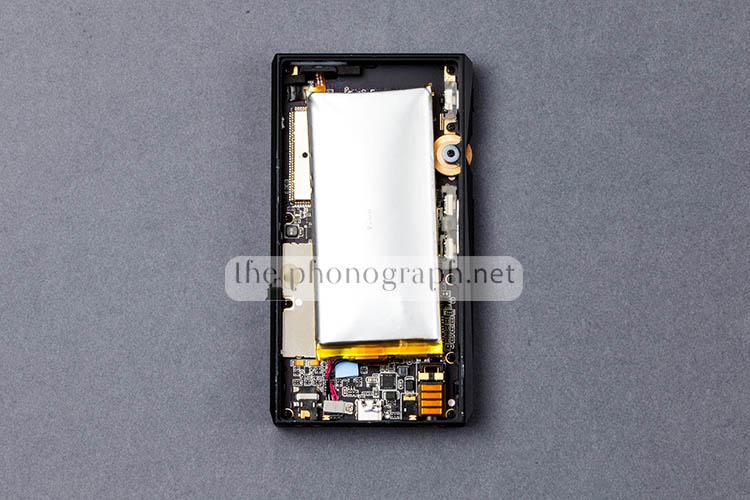
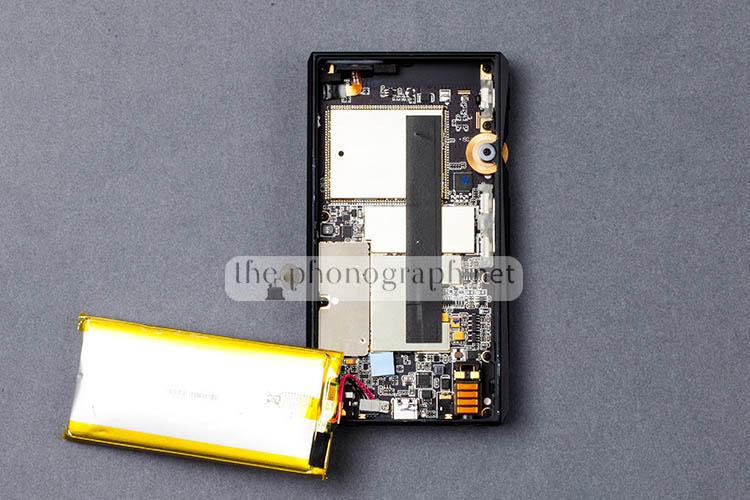
Accessing the inner components of the FiiO M11
Once the battery is “unglued” from the back cover, the inner components of the FiiO M11 will be easily accessed by simply putting the battery to the side.
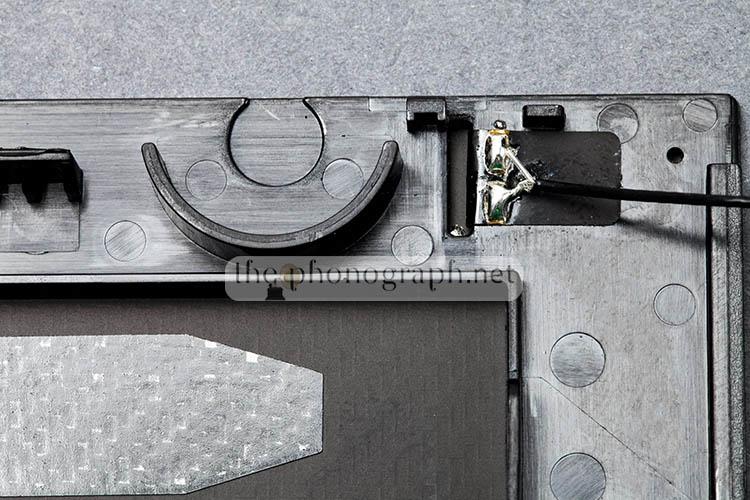
It will, also, be needed to disconnect from the mainboard the top cable that is soldered to the plastic cover.
MORE: Editor’s Picks Earphones Chart
MORE: Best Bang for the Buck Earphones
![]()
![]()
![]()
![]()
![]()
![]()
![]()
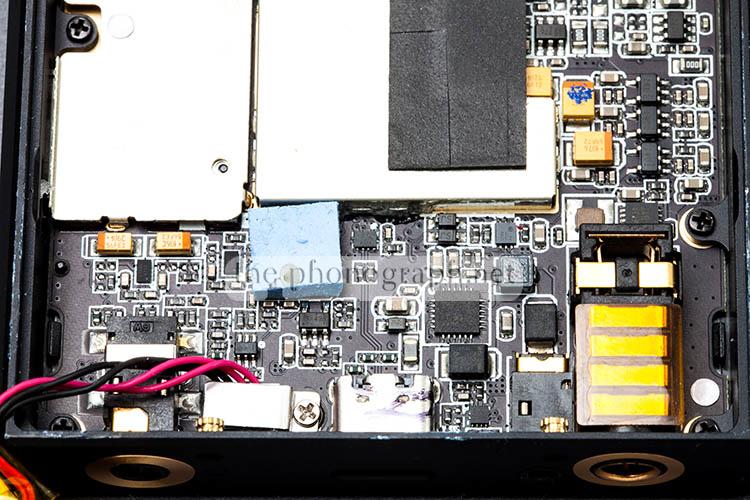
Detailed view of the lower connectors and the mainboard connections
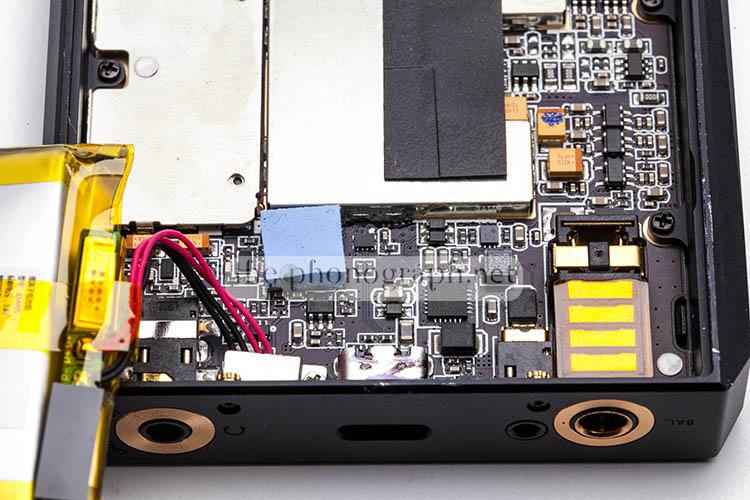
Below you can see in detail the 4.4mm, 2.5mm, 3.5mm connectors, the charging/USB DAC connector and the battery connector.
MORE: Coupons – Discount Codes
FIND ALL: Headphones / Music Players / Amps / Cables Reviews
SEE ALSO: Best Headphones Charts
Detailed view of the FiiO M11 volume wheel assembly
On the photos below you can see how the volume wheel is assembled and the nearby components.

View of the FiiO M11 side buttons assembly
Close look at the buttons on the left side of the FiiO M11 that are used for skipping tracks.

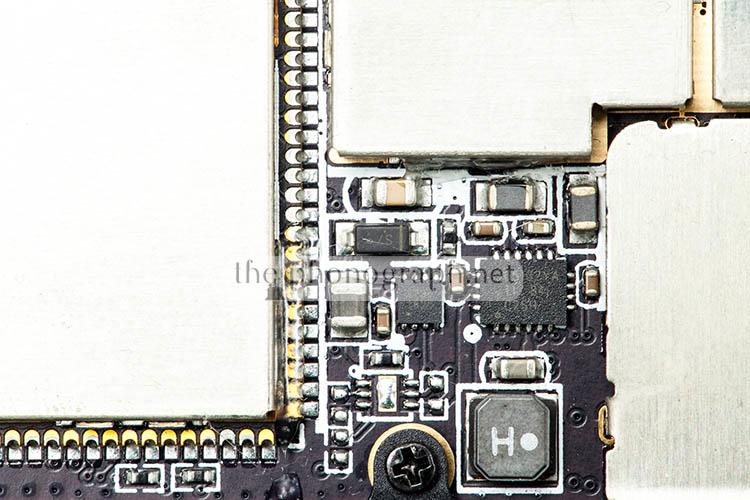
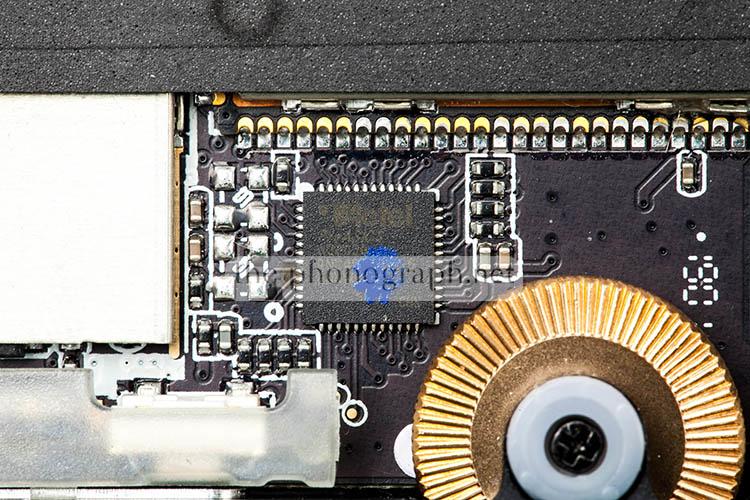
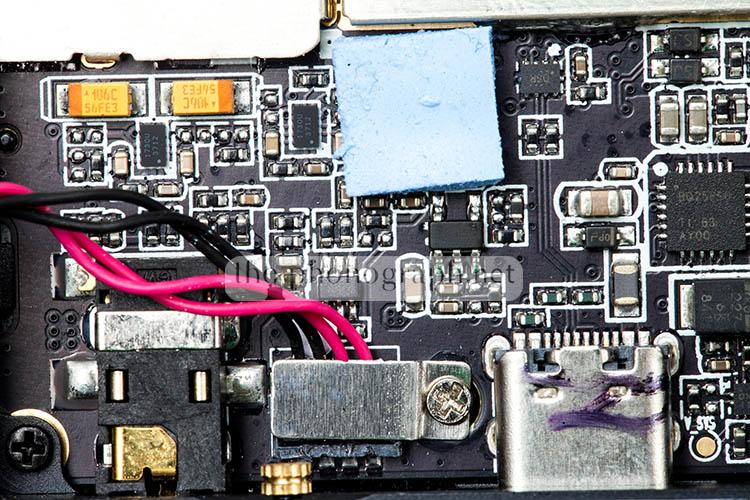
Additional details of the FiiO M11 mainboard, chips and components
Below you will be able to see other details of the mainboard and the components used.
Moreover, you can see right next to the volume wheel the placement of the Actel ProAsic A3P030 flash FPGA microchip.
The rest of the main components such as the Exynos CPU, OPA926 op-amp chips and AK4493 DACs of the FiiO M11 are placed beneath the large metal protecting covers that you can see through out most of the photos in this FiiO M11 disassembly article.

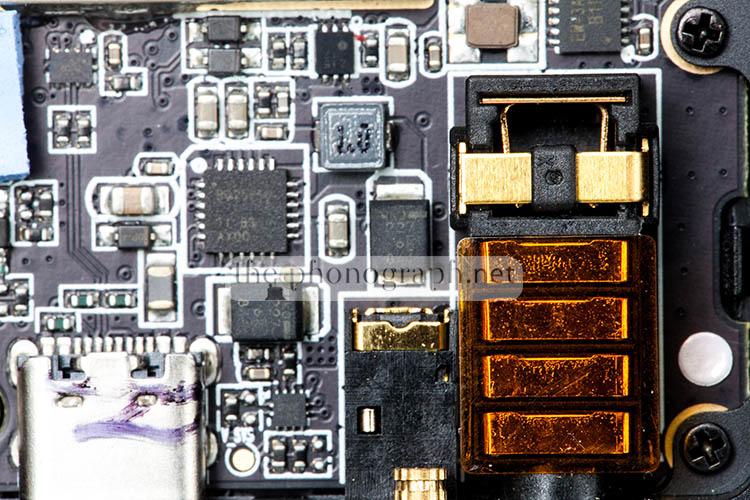
Closer look at the audio and power connectors
At an even closer look you can appreciate further details of the balanced and unbalanced audio connectors and the power connector with it’s cable.
![]()
![]()
![]()
![]()
![]()
![]()
![]()
SELECTED FOR YOU: Aliexpress 11.11 Shopping Festival Coupons

RELATED TO THIS PAGE: Aliexpress Anniversary Sale Coupons and Deals
SEE ALSO: Black Friday Coupons and Deals – Black Friday Aliexpress, , Banggood


